13 Best Grilling Techniques to Cook Almost Anything
Summer is the season of the grill master. From late spring to early fall, when the temperature’s peaking, this is when grill experts get to show their expertise crafting various dishes on their favourite home grills. Whether you are new to grilling or it’s a year-round habit, grills can be utilized to cook almost anything, from pancakes to casseroles, plant-based proteins to smoked meats, and more.
Here are thirteen best grilling techniques you may want to use in your next grill session.
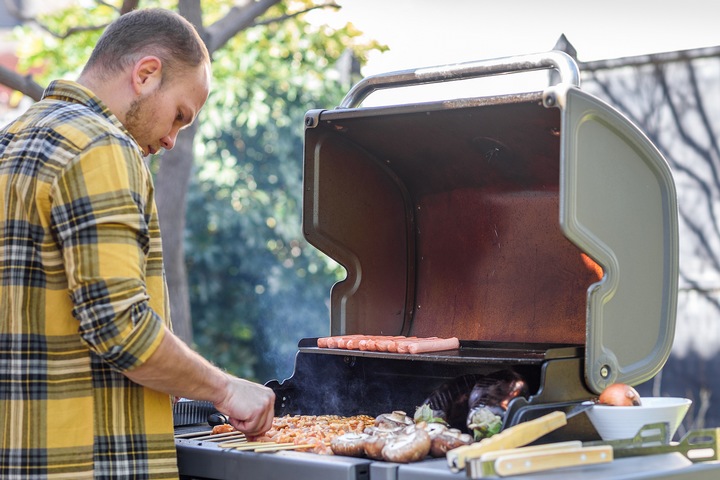
Technique #1: Simplify Your Meals
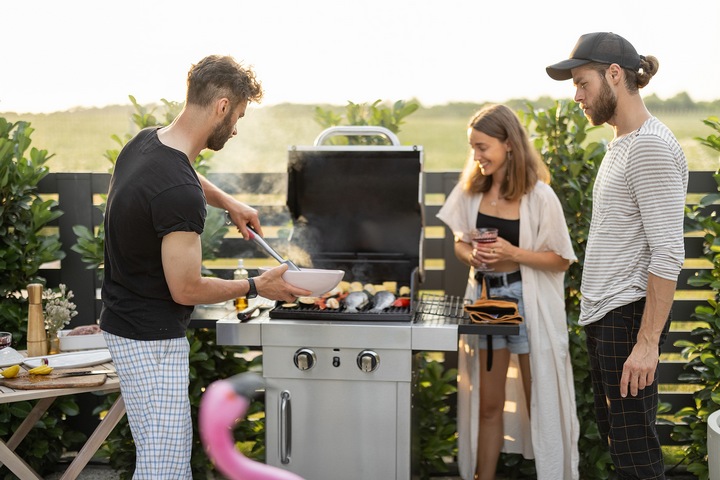
You can easily cook too much and make errors in cook time and grilling techniques. Especially if it’s a gathering of people, keep the number of things you’re grilling down to two or three foods. You can then offer more variety with the side dishes, sauces, condiments, and toppings. It’s a lot easier to manage.
Technique #2: Brush the Grates
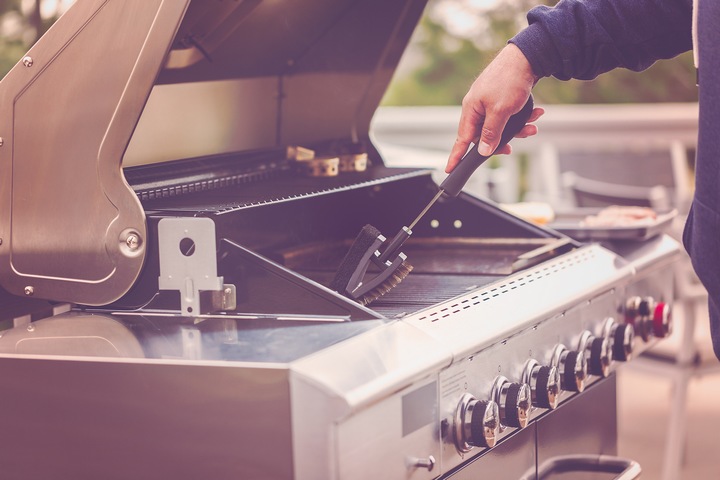
It can be tempting to be lazy and put your next meal on the grill without cleaning the grates between uses. This will transfer taste, though and not always in a healthy or good way. When a grill’s hot, take a metal brush and give the grate a good tidy. It’ll take less than 30 seconds.
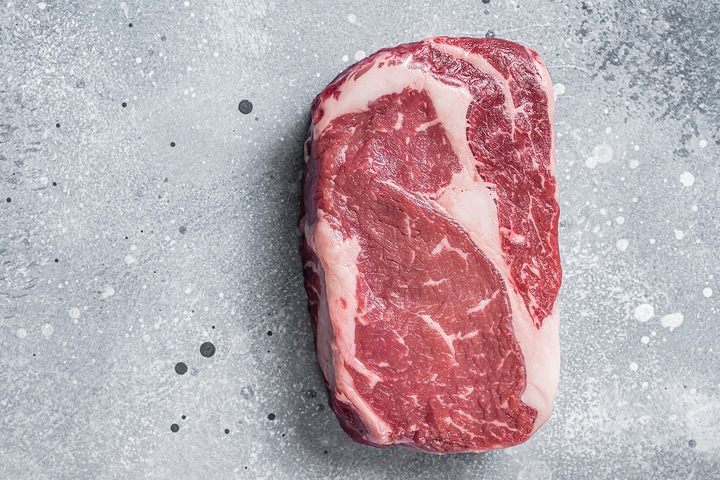
Technique #3: No Flattening Meats
This is such a common mistake. When you squeeze or flatten meat, juicy, fatty flavours sizzle outwards. As gorgeous as that is to watch, that’s flavour leaving your meat. Keep it locked in by never squishing your meat.
Technique #4: Don’t Over-Char Meats
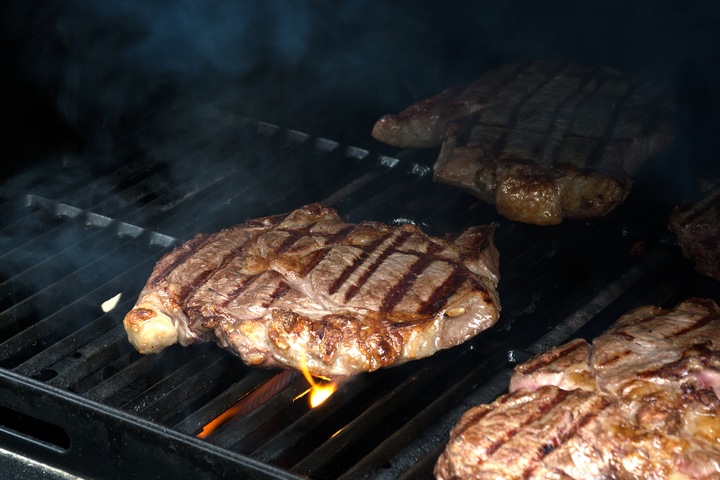
A thick, black piece of charred meat is fun for no one. For thick meats with a bone in them – i.e. chicken thighs or legs – cook them on high heat at first. This will give things a nice crust. Then, flipping the meat, lower the heat to medium. This will allow you to cook the meat without overcooking and charring the outside.
Technique #5: Sear and Char on a Gas Grill
Gas grills are known to produce higher heat than charcoal can. They’re a superior option for searing and charring. To sear correctly, all it takes is a few minutes on each side—the same for charring. What you’re doing is using extreme heat to mark, brand, or char the surface. This adds taste and presentation.
Technique #6: Learn How to Use Indirect Heat
We grill with direct heat most of the time, right over the heated area. There is also indirect heat, though, i.e. using a heat source not directly underneath. For grilling, indirect heat can be important to cooking large pieces of meat – such as roasts – all the way through without overcooking the outside. There are lots of techniques to use indirect heat.
Technique #7: Use Skewers for Loose Foods
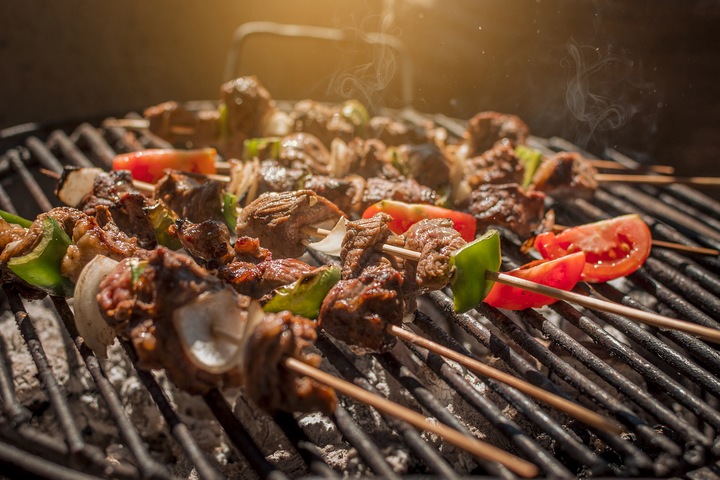
Have reusable metal skewers on hand. Be ready to use them for any loose foods you’re concerned about falling in between the grate. Skewers are an easy, safe way to hold different foods together, baste with marinade, season, or cook plain.
Technique #8: Consider a Griddle Plate
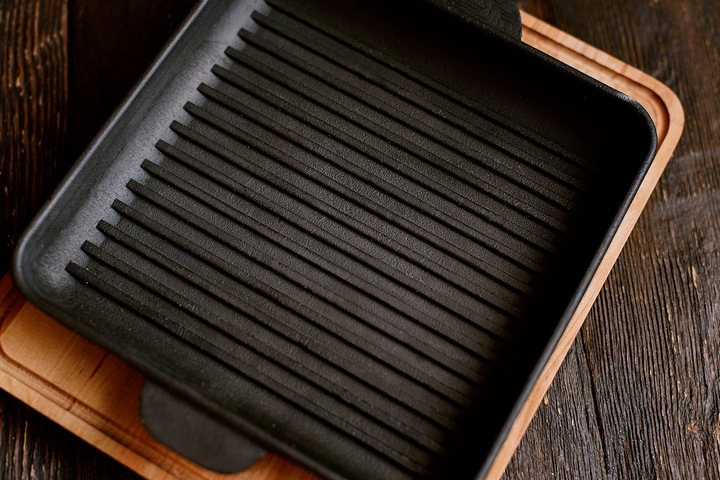
Consider investing in a BBQ skillet if you want to expand what you can grill. This way, you can cook everything from pancakes to fish fillets and anything else that might not stay on top of the grate. Though not essential, a griddle plate accessorizes your grill and provides you with the opportunity to experiment in a way a grate might not let you.
Technique #9: Don’t Put Cold Foods on the Grill
Any foods you put on the grill should be at room temperature beforehand. Cold meat might not cook evenly if it’s gone from the fridge and directly onto the grill. This is common with chicken. Before grilling, always let your foods sit out at room temperature for somewhere around thirty minutes.
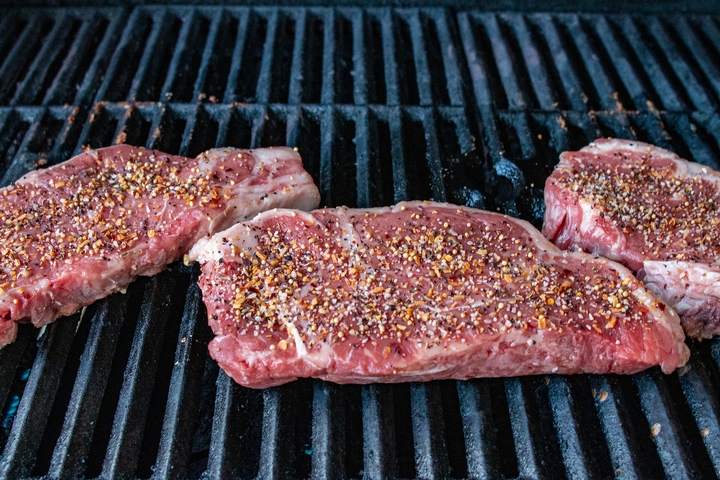
Technique #10: Start Marinating Meats
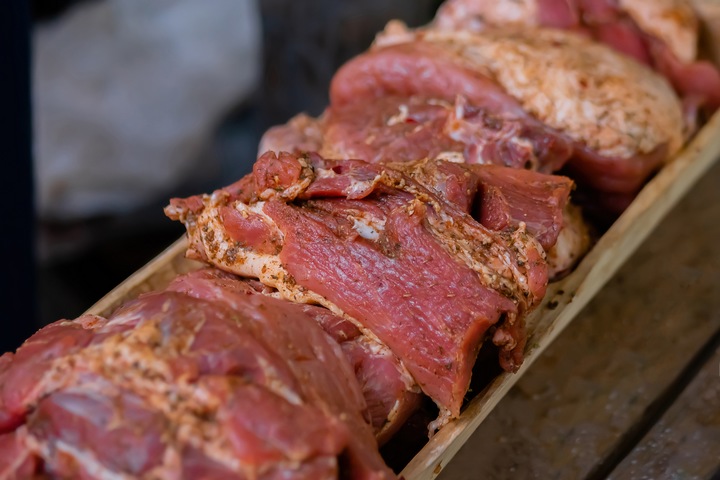
Many beginner grill masters will salt and pepper their meats and then slap them on the grill. Although that’s fine, you can get so much flavour out by a short six-hour marinating. This will tenderize meats as well. You can make your marinade or buy premade BBQ marinades if that’s more your style.
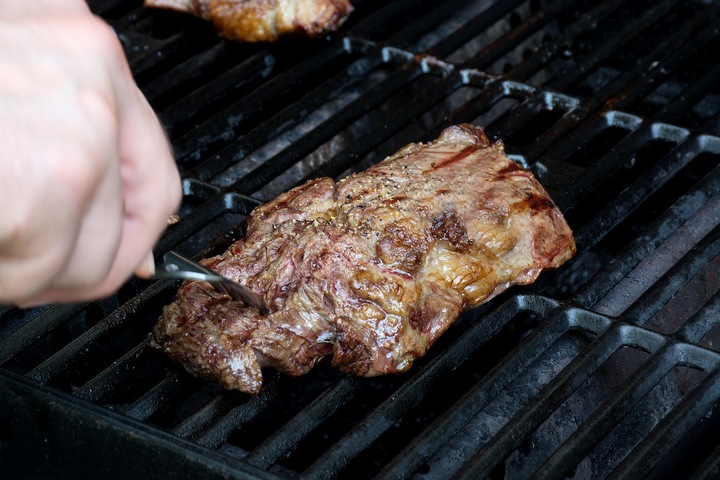
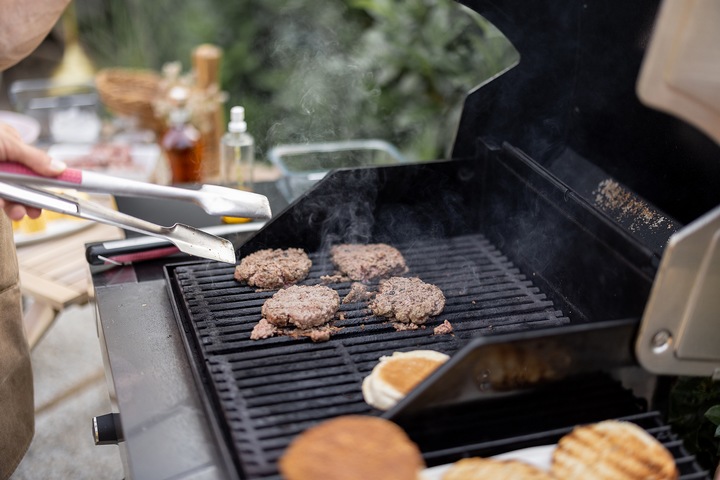
Technique #11: Avoid Moving Food Around Too Much
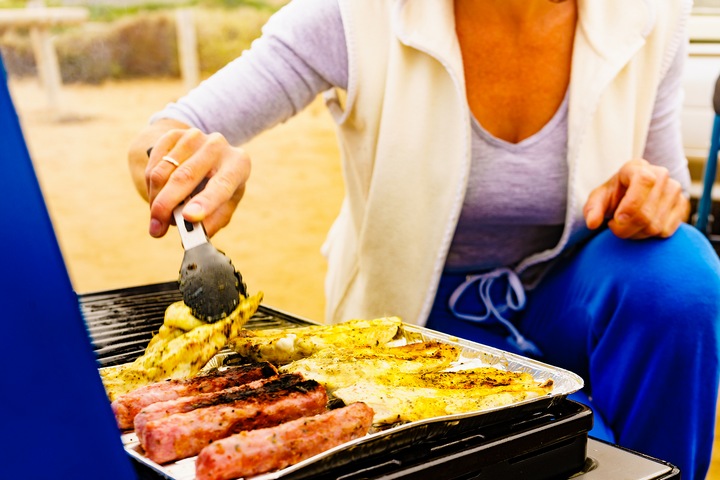
Once on the grill, the less you touch food, the better. This applies in particular to meats. If food’s stuck to the grill, don’t panic. Let it cook a little more. This should make it easier to unstick from the grate when it’s time to flip it.
Technique #12: You Need a Meat Thermometer to Avoid Overcooking
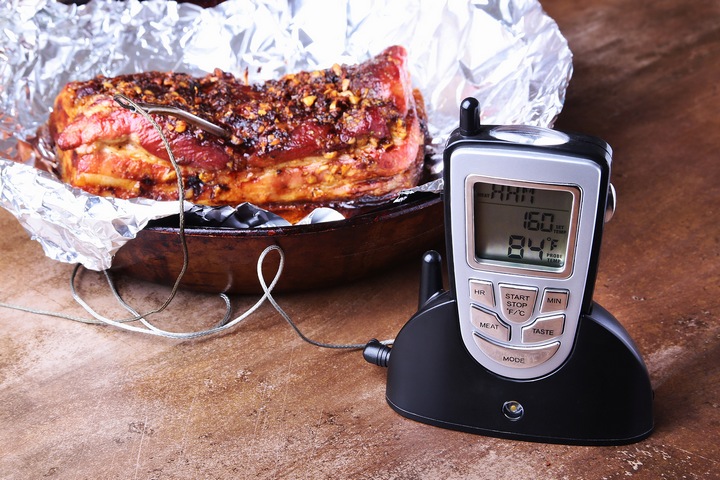
Many people overcook their meats without a meat thermometer to take the guesswork of grilling. This is an essential tool. Know what the internal temperature meat is supposed to be. A meat thermometer will confirm what you can’t see on the outside, and you will know when everything’s fully cooked.
Technique #13: Let Your Meats Cool Afterward
When you remove your meats, they will continue to cook for a little bit, and the juices inside will redistribute. Try to give meats 5-10 minutes after they’re pulled off the grill to do this. This will get you the juiciest meat possible.